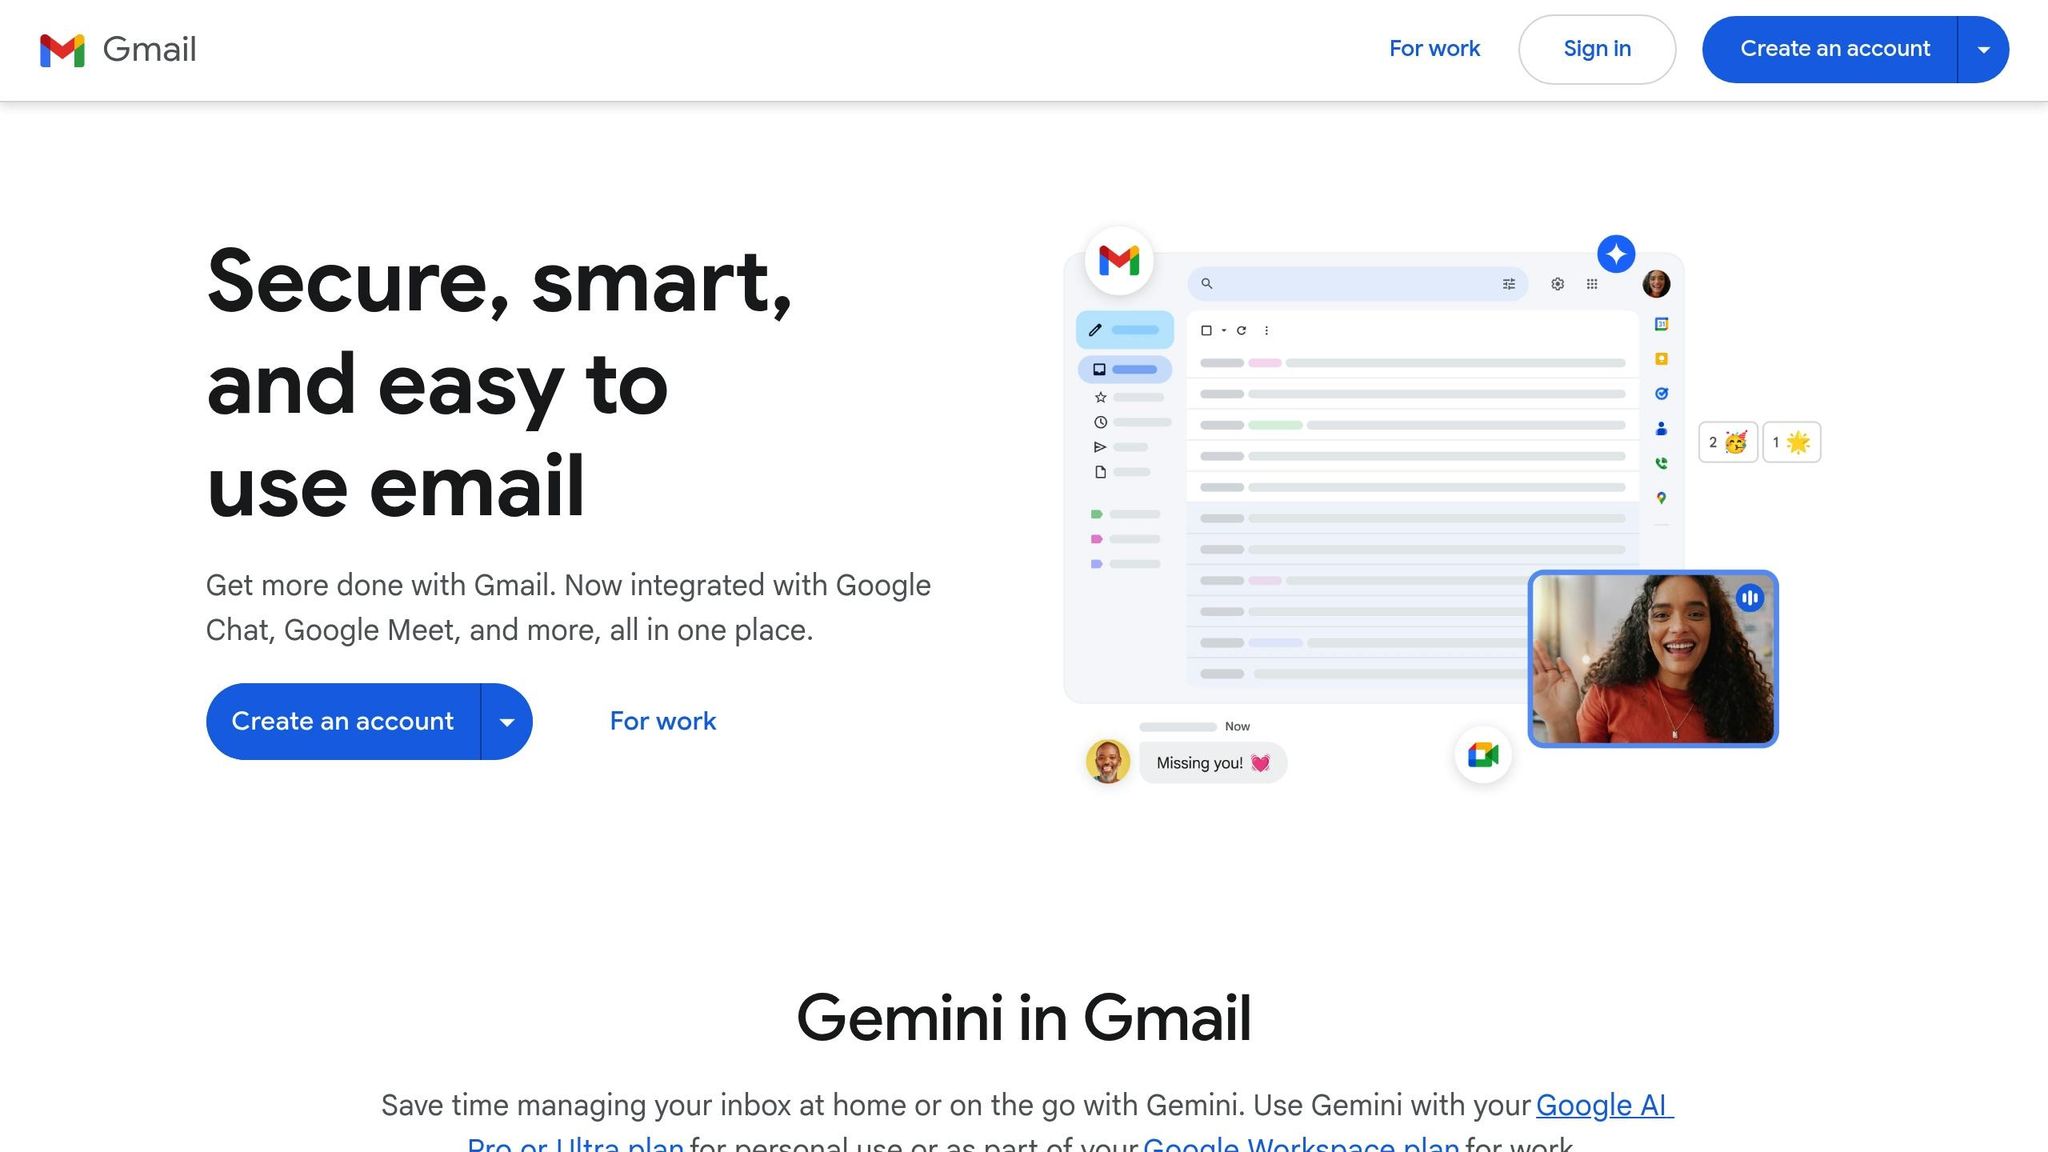
BIMI (Brand Indicators for Message Identification) lets your verified logo appear in Gmail inboxes, boosting recognition and trust. To set it up with Google Workspace, you’ll need to:
- Authenticate Emails: Implement SPF, DKIM, and a DMARC policy (
p=quarantineorp=rejectwithpct=100). - Prepare Your Logo: Use an SVG Tiny PS format (1.2), under 32 KB, and meet Gmail’s requirements.
- Obtain a VMC: Purchase a Verified Mark Certificate (starting at $1,499/year) to display your logo with Gmail’s blue checkmark.
- Add BIMI DNS Record: Publish a TXT record (
default._bimi) with your logo and VMC details.
Once configured, test your setup by sending emails and verifying BIMI compliance in the headers. Properly maintaining your DMARC policy and renewing your VMC ensures continued functionality.

BIMI Setup Process for Google Workspace: 4-Step Implementation Guide
How to Get Gmail Blue Check Mark in 3 Steps (BIMI DNS Record)
Prerequisites for BIMI Setup
To display your logo in Gmail using BIMI, you need to implement SPF, DKIM, and DMARC. Here’s why each is essential:
- SPF (Sender Policy Framework) ensures only authorized servers can send emails on your behalf.
- DKIM (DomainKeys Identified Mail) adds a cryptographic signature to confirm the message hasn’t been altered.
- DMARC (Domain-based Message Authentication, Reporting, and Conformance) ties SPF and DKIM together, providing instructions for handling messages that fail authentication checks.
DMARC Policy Requirements
For BIMI to function, your DMARC policy must be set to either p=quarantine or p=reject. If your policy is set to p=none (monitoring mode), BIMI will not work. Additionally, the pct tag must be set to 100, ensuring the policy is applied to all outgoing emails from your domain.
Once your DMARC policy is configured, you’ll need to verify your SPF and DKIM settings.
SPF and DKIM Setup
Activate both SPF and DKIM, and then allow 48 hours for DNS propagation before enabling DMARC. This waiting period ensures stable email delivery while the DNS changes take effect.
When setting up DKIM, avoid using the length tag (l=) as it can lead to security vulnerabilities and interfere with proper logo display.
After completing SPF and DKIM configuration, the next step is to verify your domain ownership in Google Workspace.
Google Workspace Domain Verification
To verify domain ownership, add a TXT record through your domain registrar. Additionally, the server hosting your BIMI files must meet these requirements:
- Use HTTPS with TLS 1.2 or later.
- Ideally, host the server within the same domain as your outgoing email server.
You can use tools like the Google Admin Toolbox or similar free utilities to confirm that your SPF and DKIM settings are correct and have been active for at least 48 hours before proceeding.
Preparing Your Logo for BIMI
Once your domain is verified, the next step is preparing your logo to meet BIMI standards. This involves ensuring your logo is in the correct format: SVG Tiny Portable/Secure (SVG Tiny PS), specifically version 1.2. Be aware that most design tools require manual tweaks to achieve this format.
Logo Format Requirements
Your logo needs to be a square vector image, at least 96×96 pixels, and no larger than 32 KB to ensure it loads efficiently. The SVG’s root element must include these attributes: version="1.2" and baseProfile="tiny-ps". Additionally, include <title> and <desc> elements in the SVG file to provide your organization’s name for accessibility purposes.
There are a few things to avoid: scripts, animations, interactive elements, external links, embedded bitmaps (like "base64" or "/img"), and x=/y= attributes in the root element.
Visual tips to keep in mind: Center your logo within a square layout and use a solid background. Transparent backgrounds can sometimes display inconsistently. If your logo features text, convert it to outlines by using the "Create Outlines" tool in your design software.
| SVG Attribute | Required Value |
|---|---|
| File Format | SVG Tiny Portable/Secure (SVG Tiny PS) |
| Version | 1.2 |
| baseProfile | tiny-ps |
| Minimum Size | 96 x 96 pixels |
| File Size | 32 KB or smaller |
| Required Elements | <title> and <desc> |
SVG Conversion Tools
If you’re using Adobe Illustrator, you can manually convert your logo. Save your file as "SVG Tiny 1.2", then open it in a text editor (such as Notepad). Update baseProfile="tiny" to baseProfile="tiny-ps" and remove any x= and y= attributes from the root element.
For a faster solution, automated tools like EasyDMARC or PowerDMARC BIMI Logo Converter can adjust your file to meet Tiny PS standards. Over 83,500 companies have already relied on EasyDMARC’s tools for BIMI compliance.
If you’re looking for a free option, Inkscape is an open-source tool you can use to create and format SVG files manually. After exporting, check the file in a text editor to ensure it meets all BIMI requirements.
Finally, host your completed logo on an HTTPS server with a valid SSL certificate. Once your logo is formatted and securely hosted, you’ll be ready to obtain a Verified Mark Certificate and configure the BIMI DNS record.
Getting a Verified Mark Certificate (VMC)
What is a VMC?
A Verified Mark Certificate (VMC) is a digital certificate that proves you own your logo and have it registered as a trademark. If you’re a Google Workspace user, having a VMC is essential to display your brand logo in Gmail’s inbox and to earn the blue checkmark verification badge next to your sender name. Without it, your BIMI (Brand Indicators for Message Identification) setup won’t function in Gmail.
Once an authorized Certificate Authority (CA) validates your application, you’ll receive a PEM-encoded file containing your approved SVG logo. This file needs to be hosted on a public HTTPS server and referenced in your BIMI DNS record.
"In Gmail, you’ll see a checkmark next to senders verified with a VMC." – Google Workspace Support
How to Purchase a VMC
Authorized CAs like DigiCert (pricing starts at about $1,499 USD per year), GlobalSign, and Sectigo issue VMCs. Before applying, make sure your logo is registered with a recognized intellectual property office, such as:
- USPTO (United States)
- EUIPO (European Union)
- UKIPO (United Kingdom)
- CIPO (Canada)
- DPMA (Germany)
- JPO (Japan)
- OEPM (Spain)
- IP Australia (Australia)
Trademark registration can take anywhere from 6 to 12 months, so plan ahead to avoid delays.
Once you’re ready to apply, the validation process usually takes about 3–7 business days. During this time, you’ll need to provide notarized identification and complete a video call with the CA’s validation team. The CA will verify your organization’s legal existence using government databases, confirm that you own the domain in question, and ensure your SVG logo matches your registered trademark exactly.
A key technical requirement for Gmail: your VMC must include a "Street Address" field. If this field is missing, your certificate will need to be reissued to work properly in Gmail.
| VMC Requirement | Details |
|---|---|
| Trademark Registration | Required with an approved national or regional office |
| Validation Time | Typically 3–7 business days |
| Annual Cost | Starts at $1,499 USD (via DigiCert) |
| Technical Requirement | Must include "Street Address" field for Gmail |
Once you’ve secured your VMC, you’re ready to move on to configuring your BIMI DNS record, which we’ll cover in the next section.
sbb-itb-36f7bf9
Configuring the BIMI DNS Record
Once your logo is ready and you’ve obtained your Verified Mark Certificate (VMC), the next step is setting up your BIMI DNS record.
Creating the BIMI TXT Record
Your BIMI TXT record needs three elements:
- Start with
v=BIMI1; - Use
l=for your logo’s URL - Use
a=for your VMC URL
Each tag should end with a semicolon.
Here’s an example for Gmail users:
v=BIMI1;l=;a=https://yourdomain.com/certificate.pem
For Gmail, leave l= blank since the logo is embedded within the VMC PEM file. If you’re using a standalone SVG logo without a VMC, include the full HTTPS URL after l=. Keep in mind that Gmail requires a VMC to display your logo and verification checkmark.
Make sure your files meet the hosting requirements for BIMI.
| DNS Field | Value to Enter |
|---|---|
| Type | TXT |
| Host / Name | default._bimi |
| Value / Content | v=BIMI1; l=[SVG_URL]; a=[PEM_URL]; |
| TTL | 3600 (1 hour) |
Once your BIMI TXT record is set, you’re ready to add it to your DNS settings.
Adding the Record to DNS
Log in to your domain registrar’s DNS management console. Whether you’re using GoDaddy, Cloudflare, or another provider, most systems allow you to enter default._bimi as the hostname, automatically appending your domain name. Some providers might require the full string, such as default._bimi.yourdomain.com.
Create a new TXT record and paste your BIMI value into the content field. Set the TTL (Time to Live) to 3600 seconds, or 1 hour, as recommended. Double-check for any errors – missing semicolons or incorrect URLs are common issues that can disrupt BIMI functionality.
Once saved, DNS propagation can take anywhere from 1 to 48 hours.
Verifying DNS Configuration
After the record is added and DNS propagation has occurred, verify your setup. Use this command in your terminal to check if the record is live:
dig TXT default._bimi.yourdomain.com Ensure that all three tags – v=, l=, and a= – are present and correctly formatted.
Next, test the URLs from your l= and a= tags by pasting them into a browser. Both files must load without requiring authentication. The SVG should display your logo, and the PEM file should show the certificate text.
Finally, send a test email to a Gmail account. Open the email, view the original headers, and look for bimi=pass under the Authentication-Results section. If you see this, congratulations – your BIMI configuration is successfully set up!
Testing and Troubleshooting BIMI
Testing BIMI Display
Once your DNS record is live, it’s time to confirm that BIMI is functioning as expected. Here’s how:
Start by sending a test email from your Google Workspace account to a Gmail address. Open the email, click the three dots in the top-right corner, and select Show original. Scroll through the headers until you find the Authentication-Results section. Look for bimi=pass. If it’s there, your BIMI record is correctly configured.
If bimi=pass appears but your logo isn’t showing, don’t panic. It might take up to 48 hours for DNS propagation. Gmail needs this time to cache your logo before displaying it. While you wait, try testing other BIMI-supported email clients, like Yahoo Mail, to see if your logo appears there.
Additionally, you can use online BIMI validation tools to check your DNS syntax and ensure your SVG and PEM files are accessible via HTTPS. These tools can also identify any formatting errors. For a more hands-on approach, run this command in your terminal to verify the record’s existence and values:
dig TXT default._bimi.yourdomain.com If everything seems fine but issues persist after the propagation period, move on to the troubleshooting steps below.
Fixing Common Problems
If testing reveals problems, here’s how to address the most frequent issues:
DMARC Policy Issues
Your DMARC record must have p=quarantine or p=reject and be set to pct=100. Anything less strict will prevent BIMI from working.
SVG Formatting Errors
Gmail has specific requirements for SVG files. The viewBox attribute must use space-separated values, like viewBox="0 0 400 400", not commas. The SVG file should also follow the Tiny PS version 1.2 format, have absolute pixel dimensions (at least 96×96 pixels), and be under 32 KB in size for proper display.
VMC and PEM File Issues
Both the Verified Mark Certificate (VMC) and PEM file URLs must load without requiring authentication. The PEM file must be accessible via HTTPS using TLS 1.2 or higher. It should also include the full certificate chain in the correct order: entity certificate, intermediate CA, and root CA. To confirm, test the URL in an incognito browser window to ensure it loads correctly.
If your logo still isn’t appearing, consider your sender reputation. Gmail may block logos from senders with high bounce rates or frequent spam complaints, even if the technical setup is flawless. Addressing these reputation issues may resolve the problem.
Conclusion
Setup Summary
To set up BIMI for Google Workspace, you’ll need to ensure a few key elements are in place. First, configure SPF, DKIM, and a DMARC policy with p=quarantine or p=reject, ensuring the pct value is set to 100. Your logo must comply with Gmail’s BIMI requirements, and you’ll need to secure a Verified Mark Certificate (VMC) to confirm your trademark ownership and enable Gmail’s blue checkmark. Finally, publish the BIMI TXT record at default._bimi.[yourdomain] to allow email providers to retrieve and display your brand’s logo.
"BIMI provides email recipients and email security systems increased confidence in the source of emails, and enables senders to provide their audience with a more immersive experience." – Neil Kumaran, Group Product Manager, Gmail Security & Trust
After setup, ongoing maintenance is crucial to ensure BIMI continues to function as intended.
Maintaining BIMI Configuration
BIMI isn’t a one-and-done process – it requires regular upkeep. Your VMC typically expires after 1–2 years, and failing to renew it will result in the loss of both your logo display and the Gmail blue checkmark. To avoid interruptions, plan ahead and renew your certificate on time.
Keep an eye on your DNS records as well. If your DMARC policy falls below p=quarantine or your pct value drops under 100, your logo will immediately stop displaying in recipient inboxes.
Monitoring DMARC aggregate reports is also essential. These reports help you identify authentication issues early and detect potential spoofing attempts that could harm your sender reputation. To ensure everything is functioning as expected, send test emails to providers like Gmail and Yahoo periodically. This way, you can confirm your logo is rendering properly and that the blue checkmark is still visible. Staying proactive helps maintain your email authentication framework and keeps your brand presence strong.
FAQs
What are the advantages of using BIMI for email communication in Google Workspace?
BIMI, or Brand Indicators for Message Identification, lets you showcase your verified brand logo alongside emails sent from your Google Workspace domain. If the recipient’s inbox supports it, your logo will appear next to the subject line, and Gmail adds a green checkmark for emails backed by a Verified Mark Certificate (VMC). This not only makes your emails more noticeable but also reassures recipients that the message is genuinely from your organization.
On top of that, BIMI boosts security by requiring strict DMARC authentication (set to p=quarantine or p=reject). This ensures only legitimate emails can display your logo, reducing the chances of phishing and spoofing. Plus, it can improve email deliverability since inbox providers are more likely to trust and prioritize your messages.
By implementing BIMI in Google Workspace, you can increase brand recognition, build trust with your audience, and improve the chances of your emails reaching their intended recipients.
How can I make sure my logo meets BIMI requirements for Google Workspace?
To make sure your logo complies with BIMI standards, you’ll need to create a clean SVG Tiny 1.2 file and validate it before publishing. Start by designing a pure vector image in a program like Adobe Illustrator. Be sure to exclude bitmap images, external links, and text objects. When exporting, save the file as an uncompressed SVG and use a naming format with lowercase letters and dashes (e.g., mybrand-bimi.svg).
Next, open the file in a plain-text editor to manually remove any unnecessary metadata or external references. This step ensures the file remains clean and compliant.
After finalizing the SVG, upload it to a secure HTTPS URL. Double-check that it meets BIMI’s certification requirements, such as being verified through a Verified Mark Certificate (VMC). Use a BIMI-compatible validation tool as a final step to confirm the file is correctly formatted and ready to be added to your DNS record.
Why isn’t my BIMI logo showing up in email inboxes?
If your BIMI logo isn’t showing up, make sure to check these key points:
- Email client compatibility: Ensure the recipient’s email client supports BIMI. Popular clients like Gmail and Yahoo Mail do, but some don’t, which means the logo won’t appear.
- DNS and VMC configuration: Double-check that your BIMI DNS TXT record is set up correctly. This includes the logo URL and, if applicable, the VMC (Verified Mark Certificate) URL. Also, confirm that your VMC is active and properly linked.
- Logo requirements: Verify that your logo adheres to BIMI standards, such as being in the correct SVG format with the proper dimensions.
- SPF, DKIM, and DMARC setup: Ensure these email authentication protocols are correctly implemented, as they are mandatory for BIMI to work.
Still having trouble? Contact your domain provider for assistance or consider using a service like Zapmail to streamline DNS setup, check logo compliance, and manage your VMC. These steps usually resolve most BIMI display problems.